Keeping your water tank clean is crucial for maintaining a safe and healthy water supply.
In this ultimate guide, we’ll address common questions and concerns, offering practical advice and relatable examples to make the cleaning process straightforward and approachable.
Whether you’re new to water tank maintenance or seeking a refresher, this guide has everything you need.
Common Questions and Concerns
Why is Cleaning a Water Tank Important?
Dirty water tanks can harbor bacteria, algae, and sediment that can contaminate your water supply.
Regular cleaning helps to:
- Ensure Safe Drinking Water: Clean tanks reduce the risk of waterborne diseases. Contaminants like E. coli and other harmful bacteria can develop in stagnant, unclean water.
- Extend the Lifespan of Your Tank: Regular maintenance prevents buildup that can damage your tank. Sediment and scale can cause corrosion or weaken the structure of your tank over time.
- Improve Water Quality: Clean tanks ensure your water tastes and smells fresh. Algae and sediment can give water an unpleasant taste and odor.
How Often Should I Clean My Water Tank?
The frequency of cleaning depends on various factors such as tank size, water source, and usage.
Generally, it’s recommended to clean your water tank at least once a year.
However, consider cleaning more frequently if:
- You Use Rainwater: Rainwater can carry debris and pollutants from your roof and gutters.
- Your Tank is Exposed to Direct Sunlight: Sunlight promotes algae growth.
- You Notice Changes in Water Quality: Any change in taste, odor, or color can indicate contamination.
- Local Guidelines Recommend It: Follow any local health and safety recommendations for water tank maintenance.
What Are the Steps for Cleaning a Water Tank?
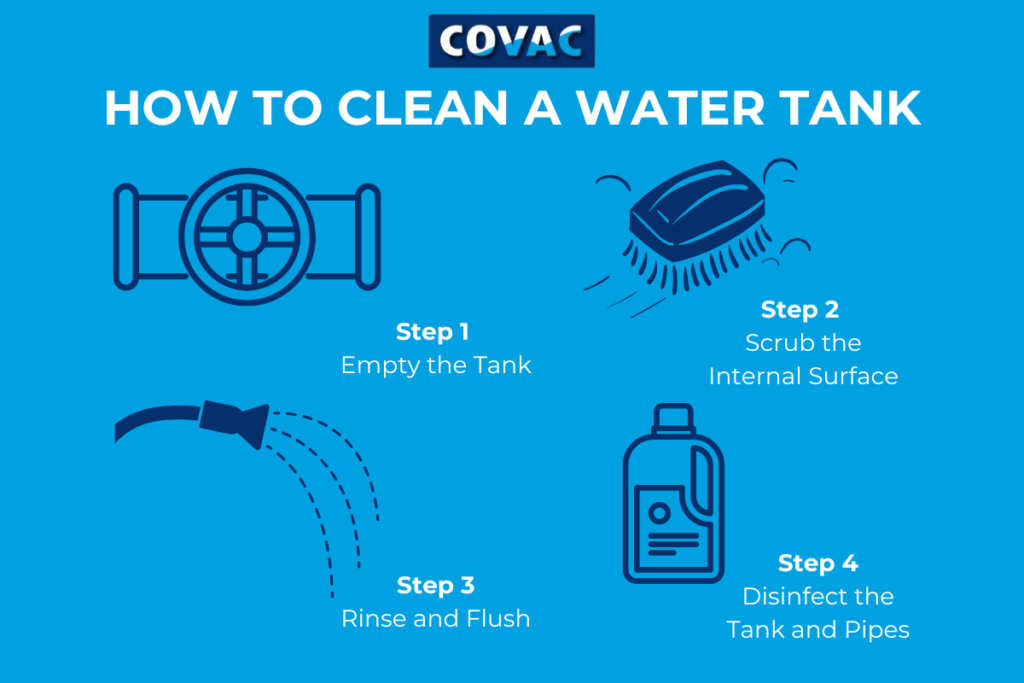
Cleaning a water tank might seem daunting, but breaking it down into manageable steps makes it easier:
Step 1: Drain the Tank
- Turn off the Water Supply: Ensure no new water enters the tank during cleaning.
- Empty the Tank Completely: Use a hose or pump to remove all water. This might take some time depending on the size of your tank.
- Dispose of the Water Safely: Avoid dumping it in areas where it could cause erosion or harm vegetation.
Step 2: Scrub the Interior
- Use a Long-Handled Brush: Reach all interior surfaces. A brush with stiff bristles works best to remove slime and sediment.
- Apply a Mild Detergent: Mix water with a mild detergent. Avoid harsh chemicals that could leave harmful residues.
- Scrub All Surfaces Thoroughly: Pay extra attention to corners and joints where buildup is more likely.
Step 3: Rinse Thoroughly
- Rinse Multiple Times: Use clean water to rinse out all detergent. Residual soap can contaminate your water supply.
- Check for Residue: Ensure no soap or debris is left behind. You might need to rinse several times to be sure.
Step 4: Disinfect the Tank
- Use Household Bleach: A common disinfectant, bleach is effective and readily available. Mix about 1 tablespoon of bleach per gallon of water.
- Fill the Tank with the Solution: Let it sit for at least 2 hours. This ensures all surfaces are disinfected.
- Avoid Overuse: Too much bleach can be harmful. Stick to recommended amounts.
Step 5: Rinse Again
- Drain the Bleach Solution: Completely empty the tank of the bleach mixture.
- Rinse Thoroughly with Clean Water: Ensure all bleach is removed to avoid contamination.
Step 6: Refill the Tank
- Refill with Fresh Water: Once you’re confident all cleaning agents are removed, refill your tank with fresh, clean water.
- Check for Leaks: Ensure the tank is sealed properly and no water is escaping.
What Tools and Materials Do I Need?
To clean your water tank effectively, you’ll need:
- Long-Handled Brush: To reach all areas inside the tank.
- Mild Detergent: For scrubbing.
- Household Bleach: For disinfecting.
- Hose or Pump: To drain and refill the tank.
- Protective Gloves: To protect your hands during the cleaning process.
- Safety Goggles: To protect your eyes from splashes.
- Buckets: For mixing cleaning solutions.
- Flashlight: To inspect the tank interior thoroughly.
Are There Any Safety Precautions I Should Take?
Yes, safety is crucial when cleaning your water tank:
- Wear Protective Gloves and Eyewear: Avoid contact with cleaning agents.
- Ensure Proper Ventilation: When using bleach or other disinfectants, work in a well-ventilated area to avoid inhaling fumes.
- Follow Manufacturer Guidelines: For any cleaning products you use.
- Handle Bleach with Care: Never mix bleach with other cleaning agents, especially ammonia, as this can produce toxic fumes.
Detailed Cleaning Steps with Tips
Preparation
- Inspect the Tank: Before starting, check for any visible damage or wear. Address any repairs needed to avoid leaks.
- Gather Supplies: Ensure you have all the tools and materials ready to avoid interruptions.
Draining the Tank
- Plan Ahead: Choose a time when water usage is low, so draining the tank won’t disrupt your household.
- Use a Hose or Pump: Direct the water to a safe drainage area. If possible, use the water for irrigation to avoid wastage.
Scrubbing the Interior
- Work Methodically: Start from the top and work your way down to ensure all surfaces are cleaned.
- Use a Sturdy Brush: A brush with stiff bristles helps remove stubborn grime. An extendable handle can help you reach deep corners.
Rinsing Thoroughly
- Rinse Repeatedly: It might take several rinses to ensure all detergent is removed.
- Check Corners and Joints: These areas are prone to retaining soap residue.
Disinfecting the Tank
- Mix the Solution Carefully: Ensure the bleach is properly diluted to avoid excessive concentration.
- Let it Sit: Allow the bleach solution to sit for at least 2 hours to ensure thorough disinfection.
Final Rinsing and Refilling
- Ensure Complete Removal of Bleach: Rinse until there is no bleach smell.
- Check Water Quality: Before using the water, ensure it’s clear and odor-free.

Common Problems and How to Solve Them
Algae Growth
- Problem: Algae can grow in tanks exposed to sunlight.
- Solution: Consider painting the exterior of your tank or using a tank cover to block sunlight. Regular cleaning and using algaecides can also help.
Sediment Build-Up
- Problem: Over time, sediment can accumulate at the bottom of the tank.
- Solution: Install a sediment filter in your water supply line. Regularly drain and clean the tank to prevent excessive build-up.
Bad Odors
- Problem: Stagnant water or organic matter can cause unpleasant smells.
- Solution: Regular cleaning and ensuring proper ventilation can prevent odor build-up. Adding a small amount of chlorine can also help neutralize odors.
Personal Tips and Stories
When I first started cleaning my own water tank, I was overwhelmed by the process. However, breaking it down into steps and having the right tools made a huge difference.
One tip that worked for me was using a toothbrush to scrub hard-to-reach corners. It’s a small tool but incredibly effective for detailed cleaning!
Another personal story involves a friend who neglected his water tank for several years. When he finally decided to clean it, the amount of sediment and algae was astonishing.
It took a full day of scrubbing and rinsing, but the improvement in water quality was immediate and significant. His experience taught me the importance of regular maintenance.
Conclusion
By following these best practices and tips, you can ensure your water tank remains clean and your water supply safe.
Regular maintenance not only protects your health but also prolongs the life of your tank and improves water quality.
Whether you’re tackling this task for the first time or looking to improve your technique, this guide provides all the information you need.
Happy cleaning!


